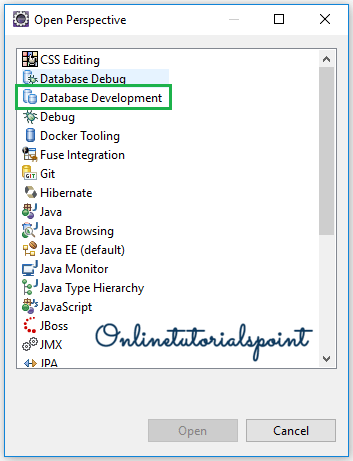


The new JPA Project is succesfully created… Step 17: The below window shows your newly created JPA Project “StudentDeptCourseProject” in the Project Explorer window with few folders expanded for a better view…Note that the “JPA Perspective” has been enabled… JPA Project & Data Connection for MySQL Step 17

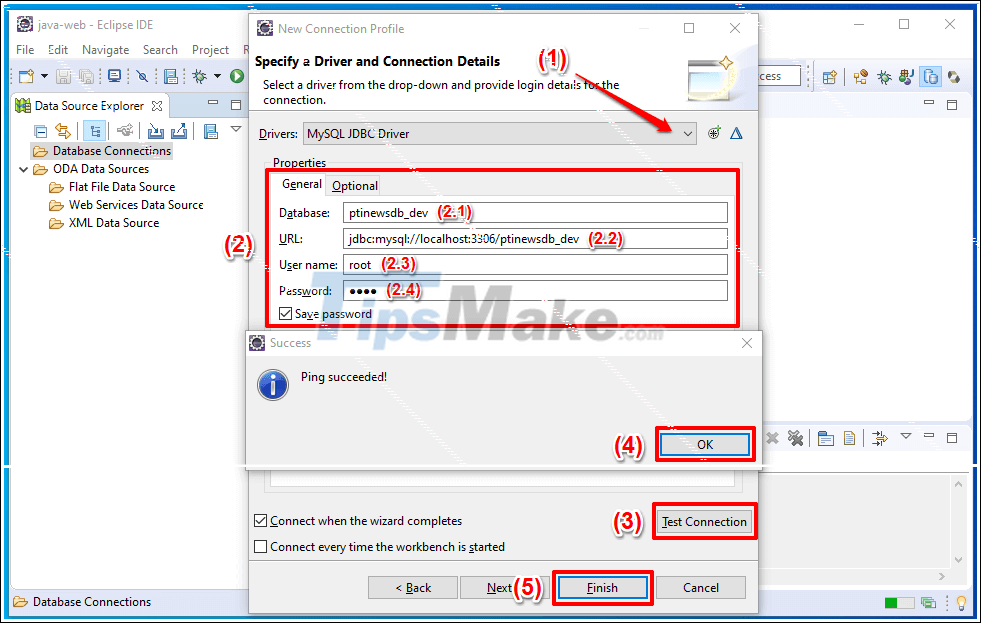
Step 16: The newly created “New MySQL” connection is shown selected in the “Connection” dropdown… Click “Finish” to Finish creating your new JPA Project… JPA Project & Data Connection for MySQL Step 16 Step 15: Check the Summary and click ‘Finish’… JPA Project & Data Connection for MySQL Step 15 After entering the details click “Next”… JPA Project & Data Connection for MySQL Step 14 Step 14: Change the database name in the “URL” to local database name in your MySQL instance running in your system… in my case the local MySql database instance name is ‘jb(short for java brahman)”…And then also enter the username/password for your database… the username for my database is the default username “root”. JPA Project & Data Connection for MySQL Step 13


 0 kommentar(er)
